Assuming you would like a step-by-step guide on how to replace the mane and tail on a rocking horse:
Tools and Supplies -Walking foot -1/4 inch pleater foot -T-pins -Fabric glue -Scissors -Matching thread -Seam ripper -Ruler or measuring tape -Needle -Pins -Chalk -Pencil -1 1/2 yards of 3/8 inch ribbon -3/4 yard of 45 inch wide fake fur -1 1/4 yards of 54 inch wide fake fur
Instructions 1. Begin by measuring the length and width of the rocking horse's mane groove. Add 1/2 an inch to the length and width measurements and cut out a piece of the 3/8 inch ribbon accordingly. 2. Place the ribbon in the mane groove and glue it down. Start at the top of the mane groove and work your way down. 3. Once the entire mane groove has been covered, use the chalk to mark where you will need to make cuts in the ribbon in order to fit it around the neck of the rocking horse. Make sure to leave at least 1/2 an inch of ribbon on either side of the neck. 4. Cut the marked sections out of the ribbon and glue the ends down. 5. Measure the length and width of the tail groove and add 1/2 an inch to the measurements. Cut out a piece of the 3/8 inch ribbon accordingly. 6. Place the ribbon in the tail groove and glue it down. Start at the top of the tail groove and work your way down. 7. Once the entire tail groove has been covered, use the chalk to mark where you will need to make cuts in the ribbon in order to fit it around the body of the rocking horse. Make sure to leave at least 1/2 an inch of ribbon on either side of the body. 8. Cut the marked sections out of the ribbon and glue the ends down. 9. To make the mane, cut 30, 12 inch long strips out of the 45 inch wide fake fur. 10. Line up the strips of fur and pin them together at one end. 11. Sew the strips of fur together with a 1/4 inch seam allowance, starting at the
Explore further: Female Dog Tail down
How do you remove the old mane and tail from the rocking horse?
It is not difficult to remove the old mane and tail from the rocking horse. The first step is to unhook the horse's bridle from the horse's head. Next, remove the saddle from the horse's back. Then, using a pair of scissors, cut the horse's mane and tail as close to the horse's body as possible. Finally, using a brush, comb the horse's mane and tail until they are completely free of the horse's body.
For your interest: Remove Urine Stains
How do you prepare the new mane and tail for installation?
When installing a new mane or tail, it is important to be sure that the hair is properly prepared so that the finished product looks its best. Here are some tips on how to best prepare the hair for installation:
1. Start by brushing the hair to remove any dirt or debris. Be sure to use a gentle brush so as not to damage the hair.
2. If the hair is very tangled, you may need to use a detangler or conditioner to help remove the knots.
3. Once the hair is brush, use a wide-toothed comb to gently comb through the hair and remove any remaining tangles.
4. Next, dampen the hair with a spray bottle filled with water. This will help to make the hair more manageable.
5. Once the hair is damp, apply a generous amount of hair treatment or conditioner to the hair. Work the product through the hair from root to tip.
6. Allow the conditioner to sit in the hair for several minutes before rinsing it out.
7. Once the hair is rinsed, use a wide-toothed comb to comb through the hair and remove any remaining tangles.
8. Finally, use a blow dryer to dry the hair. Be sure to use a low heat setting so as not to damage the hair.
See what others are reading: What Type of Brush Should Be Used to Brush the Horse's Tail?
How do you attach the new mane and tail to the rocking horse?
Adding a new mane and tail to a rocking horse is a relatively easy process that can be done in a few steps. First, remove the old mane and tail from the rocking horse. Next, cut the new mane and tail to the desired length. Finally, attach the new mane and tail to the rocking horse.
To remove the old mane and tail from the rocking horse, use a sharp knife or a pair of scissors. Cut through the old mane and tail as close to the body of the rocking horse as possible. If you are using a knife, be careful not to cut the body of the rocking horse.
Once the old mane and tail have been removed, you can proceed to cut the new mane and tail to the desired length. For the new mane, you will want to cut it so that it is slightly longer than the old mane. For the new tail, you will want to cut it so that it is the same length as the old tail.
Finally, attach the new mane and tail to the rocking horse. To do this, you will need to use a strong adhesive. We recommend using a hot glue gun for this purpose. Apply a generous amount of adhesive to the base of the new mane and tail, and then press it firmly into place on the body of the rocking horse. Allow the adhesive to dry for 24 hours before letting your child play with the rocking horse.
Explore further: How to Cut a Horse's Mane?
What type of glue should be used to attach the new mane and tail?
Many people ask what type of glue should be used to attach the new mane and tail. I have used both hot glue and E6000 and I have had success with both. I would say it really depends on what you are most comfortable with. Here is a little more information on both types of glues.
Hot glue is probably the most common type of glue used for attaching manes and tails. It is easy to work with and can be found at most craft stores. The downside to hot glue is that it can be a little tricky to get a good bond. If the bond is not strong enough, the hair can easily come out.
E6000 is a stronger glue that is made for fabric and vinyl. It can be found at most craft stores as well. I have found that E6000 works well for both manes and tails. It is a little more difficult to work with than hot glue, but the bond is much stronger.
I would recommend trying both types of glues and see which one you like best. Personally, I prefer E6000 because it gives a stronger bond.
Curious to learn more? Check out: Corgi Dog Tail
How do you ensure the new mane and tail are securely attached?
Assuming you would like a tips on how to securely attached a new mane and tail:
It is important to make sure the new mane and tail are securely attached so that the horse is comfortable and the new hair does not come off easily. Here are a few tips:
- Make sure the new mane and tail are the same length as the old mane and tail. This will help the new hair to blend in and look more natural.
- Use a good quality glue or tape to attach the new mane and tail. Make sure the adhesive is strong enough to hold the hair in place, but not so strong that it will be difficult to remove the hair later if necessary.
- Start at the base of the neck for the mane, and the base of the tail for the tail. Attach the hair a little bit at a time, working your way down to the tips. Use your fingers to smooth the hair down as you go.
- Once the new mane and tail are attached, comb them out and style them as desired. You may need to use some extra glue or tape to keep the hair in place while you style it.
Suggestion: Why Was the Horse so Happy?
How do you trim the new mane and tail?
A mane and tail are the two main sections of the horse's coat that flow down from the top of the neck and back, and are often the longest and thickest part of the horse's coat. Though the amount of hair present varies from horse to horse, and even between breeds, the horse's mane and tail usually grow quite rapidly. While some horse owners may choose to let their horse's mane and tail grow to their full potential, others may prefer to keep them trimmed or clipped for a variety of reasons.
There are a few different ways that you can trim a horse's mane and tail. The most common method is to use scissors or shears to physically cut the hair. This can be done wet or dry, but is generally considered to be easier when the hair is wet. Another way to trim the mane and tail is to use a clipper, which will actually shave the hair off at the level you set it. This method can be quicker, but can also be more difficult to get an even trim.
When trimming the mane, you will want to first decide how short you want it to be. It is generally best to err on the side of caution and begin with a slightly longer length than you think you want, as it is always easier to trim more off than it is to add more back on. Once you have decided on the length, you can begin to clip or cut the mane. Start at the base of the neck and work your way down, being sure to go slowly and evenly. It can be helpful to use your fingers or a comb to hold the hair in place as you trim.
The tail can be trimmed in a similar manner, though you will want to be careful not to trim it too short. The tail is an important part of the horse's anatomy and helps them to balance and turn. If it is trimmed too short, it can interfere with their ability to move correctly. Start at the bottom of the tail and work your way up, following the natural curvature of the tail. As with the mane, it can be helpful to use your fingers or a comb to keep the tail hair in place while you trim.
Once you have finished trimming the mane and tail, you will want to brush out any loose hairs and give the horse a good grooming. This will help to remove any loose hair that you may have missed while trimming
Suggestion: What Do We Do When We Fall off the Horse?
How do you style the new mane and tail?
A horse’s mane and tail are his most important physical features. They protect him from the elements, help him to see and attract mates, and can even be used as a weapon. But how do you style the new mane and tail?
First, you need to understand what your horse’s natural characteristics are. This will help you to decide which style will best suit him. For example, if your horse has a thick mane, you may want to thin it out so that it lies flatter against his neck. If he has a very fine mane, you may want to leave it long and loose so that it can best protect him from the sun and wind.
Once you have decided on the basic style, you need to gather the correct tools. For thinning, you will need a mane comb and a thinning shears. For a finer mane, you will need a mane comb and a body brush. If you are planning on braiding, you will need a mane comb, a body brush, and a few rubber bands.
Now that you have everything you need, you can start styling! Begin by combing through the mane and tail to get rid of any knots or tangles. If you are thinning the mane, start at the base of the neck and work your way up, taking care not to cut too much at once. To thin the tail, start at the base and work your way down, also taking care not to cut too much at once.
If you are braiding the mane or tail, start at the bottom and work your way up, dividing the hair into small sections. Once you have braided all the way to the top, secure the braid with a rubber band.
Now that you’ve styled the new mane and tail, it’s important to maintain the style. Be sure to comb or brush the mane and tail daily to prevent knots and tangles. If you notice the style starting to come undone, simply redo it!
How often should you replace the mane and tail on the rocking horse?
It is important to regularly check the mane and tail of your rocking horse to ensure they are in good condition and free of knots. Depending on how often your horse is used, you may need to replace the mane and tail every few months. To help keep your rocking horse's mane and tail healthy and looking their best, brush them daily and use a conditioner or detangler as needed.
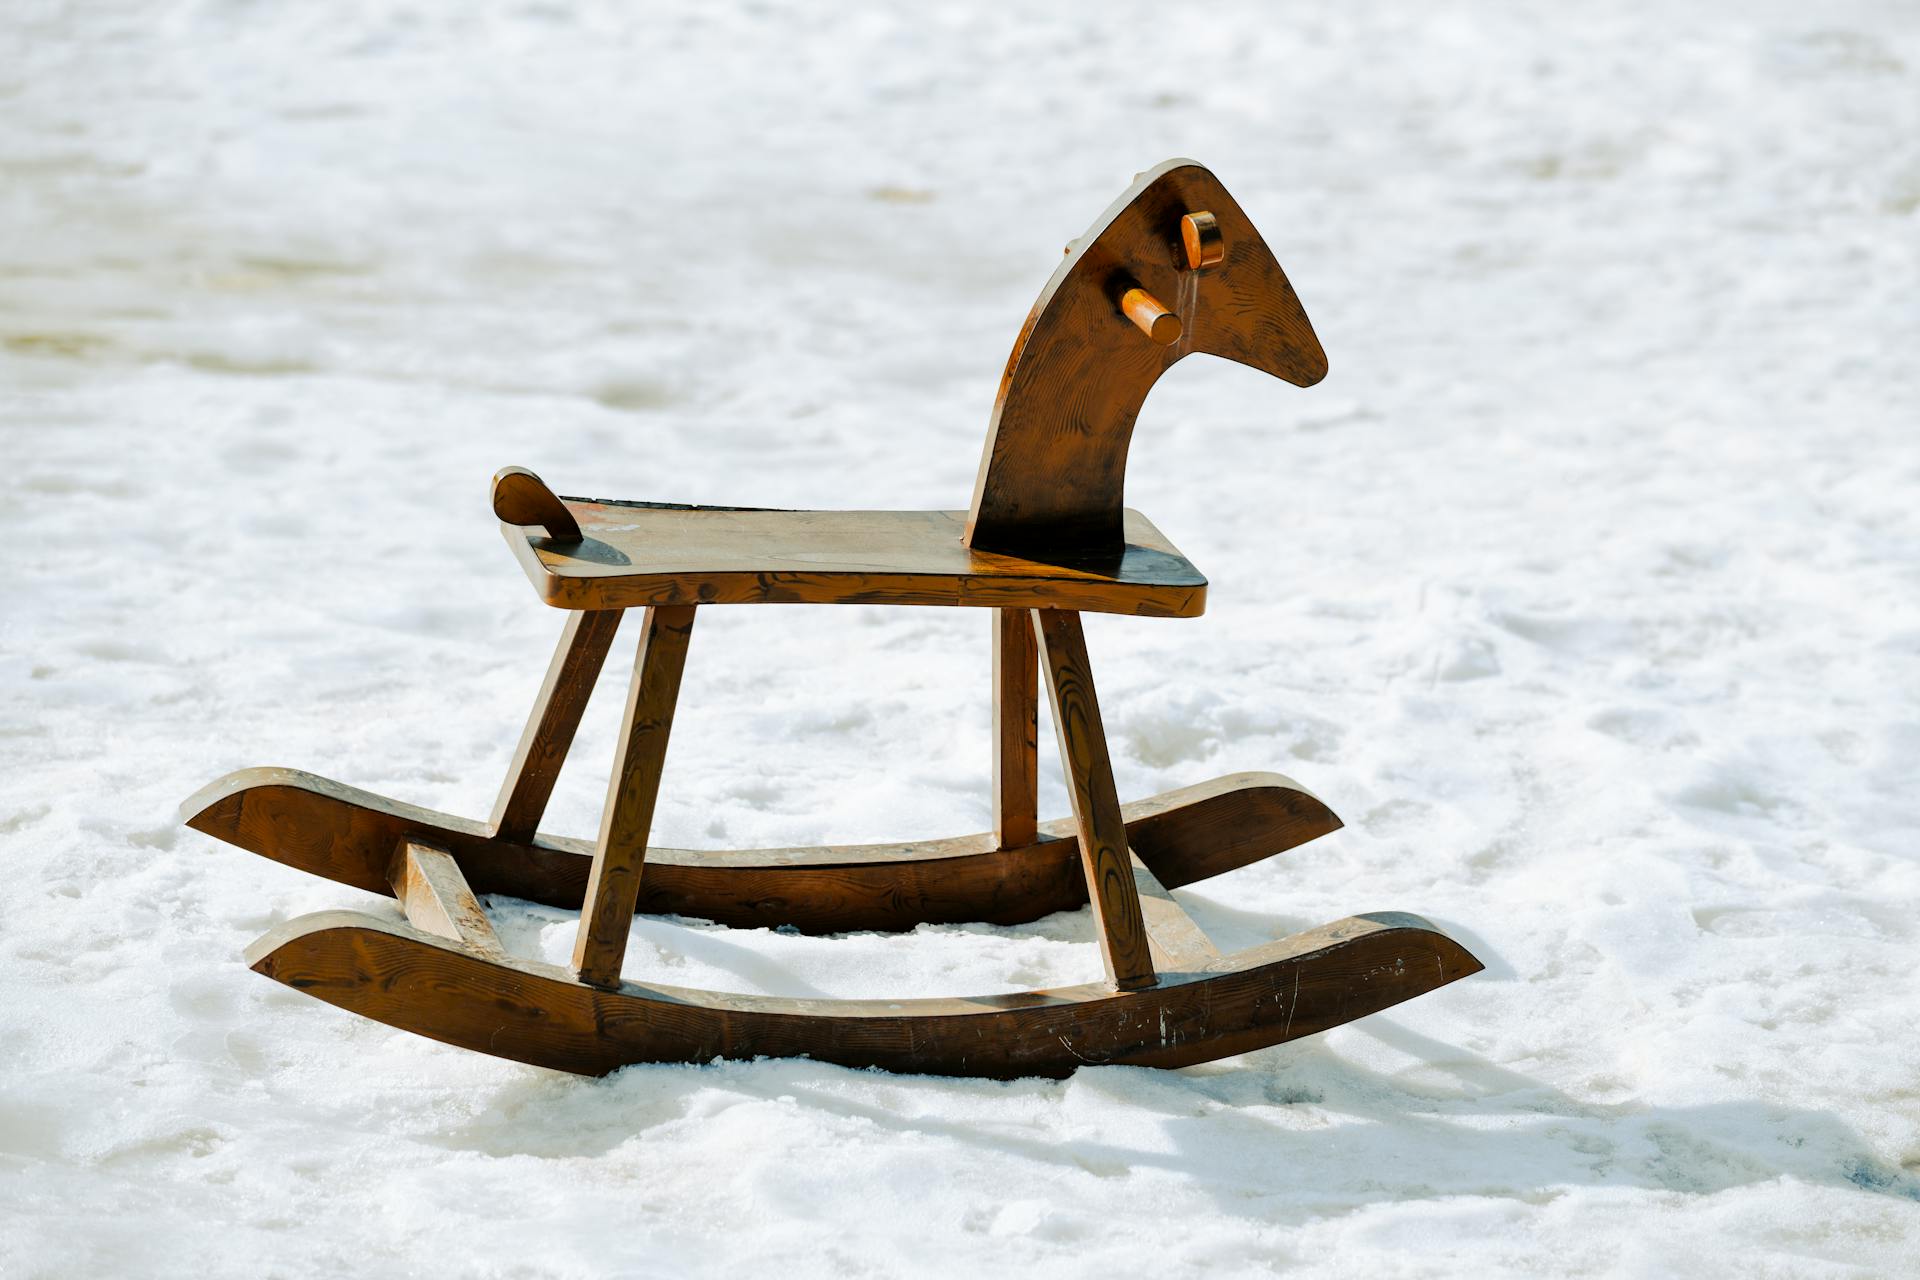
On a similar theme: Rocking Horse Symbolize
What are some common problems with replacing the mane and tail on a rocking horse?
Consider the following common problems when replacing the mane and tail on a rocking horse:
1. The new mane and tail may not match the existing rocking horse body. This can be a problem if you are trying to create a certain look or style with your rocking horse.
2. The new mane and tail may be made of different materials than the existing body, which can affect the overall look and feel of the rocking horse.
3. The new mane and tail may not be properly secured to the body, which can cause them to come loose over time.
4. The new mane and tail may not be properly groomed, which can give the rocking horse an unkempt appearance.
5. The new mane and tail may not be the same color as the existing body, which can create a mismatched look.
If you are considering replacing the mane and tail on your rocking horse, it is important to keep these potential problems in mind. Work with a qualified professional to ensure that the replacement is done properly and that your rocking horse looks its best.
A fresh viewpoint: What Would I Look like as a Horse?
Frequently Asked Questions
Can you replace the tail of a rocking horse?
Yes, replacement horse tails can be obtained on the internet.
How many tails on a rocking horse mane?
There are typically three tails on a rocking horse mane.
How thick should a rocking horse mane be?
This can depend on a lot of factors, like the size and shape of your horse, the length and thickness of its hair, and your personal preferences. In general, though, we recommend keeping the mane at least 1" wide all along its length. This will give you plenty of room to style it however you'd like!
What kind of Mane do you put on a horse?
A horse has a natural mane that is usually curly, Wadsworth hair.
How to fix a loose tail on a rocking horse?
If the tail on your rocking horse is loose, it's easy to fix. All you need is a doweling rod and some fabric glue. 1) Make sure the hole where the old tail was fastened is free from debris. If necessary, run some sandpaper around the inside of the hole to remove any old glue. 2) Fit the dowelling into the hole and, if necessary, trim the end so that it fits snugly. Remove it again and cover with fabric glue.
Sources
- https://www.ehow.co.uk/how_8632076_instructions-rocking-horse-tail.html
- https://carouselworkshop.com/Rocking-Horse-Mane-and-Tail-sets.html
- https://www.sallysrockinghorses.com/HorseHair.html
- https://www.youtube.com/watch
- https://www.rockinghorse.co.uk/simulated-horsehair-mane-tail-set-large
- https://www.etsy.com/market/rocking_horse_mane_and_tail_replacement
- https://www.ehow.com/how_12048512_make-hair-out-yarn-rocking-horse.html
- https://www.ehow.com/how_8742408_create-mane-tail-wooden-horse.html
- https://stagg-design.com/all/thrifted-rocking-horse/
- https://www.youtube.com/watch
- https://www.youtube.com/watch
- https://www.tetburyhorses.co.uk/restoration.html
- https://antiques.lovetoknow.com/antique-price-guides/antique-rocking-horse-how-identify-one-its-value
- https://www.horsetackdatabase.com/removing-burs-from-your-mane/
- https://www.usef.org/media/equestrian-weekly/pro-tip-mane-tail-care
- https://www.youtube.com/watch
- https://www.savvyhorsewoman.com/2016/10/diy-manetail-growth-serum-horses.html
- http://www.vsequine.com/blog/growing-a-healthy-mane-and-tail
- https://www.ehow.co.uk/info_8533152_ideas-make-mane-rocking-horse.html
- https://www.horseillustrated.com/mane-and-tail-care
- https://www.bonohair.com/when-attaching-a-male-toupee-which-adhesive-is-best-glue-or-tape/
- https://lifehacker.com/this-glue-chart-guides-you-through-which-glue-to-use-wh-5875781
- https://www.thecreativefolk.com/best-glue-yarn-projects/
- https://www.fantastichandyman.co.uk/blog/guide-type-glue-works/
- https://www.couragemagnet.com/faq/561.html
- https://procarreviews.com/best-car-adhesive/
- https://fastcarpenter.com/wood-glue-types-examples-and-uses/
- https://www.gemtracks.com/qa/view/what-type-of-glue-should-be-used-to-attach-a-pickguard-to-the-face-of-an-acoustic-guitar-7072/
- https://resin-expert.com/en/guide/best-glue-for-rubber
- https://thephoenixfilly.com/2020/06/06/6-tips-for-a-luxurious-mane-and-tail/
- https://equestrianwriter.com/blog/2018/12/04/mane-tail-myths/
- https://www.helpguide.org/articles/parenting-family/what-is-secure-attachment-and-bonding.htm
- https://newrider.com/threads/mane-and-tail.1933/
- https://forums.horseandhound.co.uk/threads/how-do-you-get-mane-and-tail-really-soft.308975/
- https://www.reddit.com/r/mylittlepony/comments/sjnlp/how_do_you_style_your_ponys_mane_and_tail/
- https://www.newrider.com/threads/what-do-you-use-to-trim-mane-or-tail.234119/
- https://www.youtube.com/watch
- https://www.youtube.com/watch
- https://www.thesprucepets.com/how-to-neatly-bang-your-horses-tail-1886807
- https://pethelpful.com/horses/Trimming-a-Horse-Dos-and-Donts
- https://equinewellnessmagazine.com/growing-horses-mane-tail/
- https://www.donkeybreedsociety.co.uk/about-donkeys/activities/showing/grooming-trimming/
- https://www.my-golden.com/trimming-golden-retrievers/
- https://www.wikihow.com/Prune-a-Poinsettia
- https://www.starstable.com/en/article/305
- https://www.youtube.com/watch
- https://teddiezieglerhorsemanship.com/horses-mane-and-tail/
- https://www.style-hair-magazine.com/is-mane-and-tail-bad-for-your-hair/
- https://ihearthorses.com/6-most-popular-mane-styles/
- https://allanimalsfaq.com/horse/how-to-replace-mane-and-tail-on-rocking-horse/
Featured Images: pexels.com