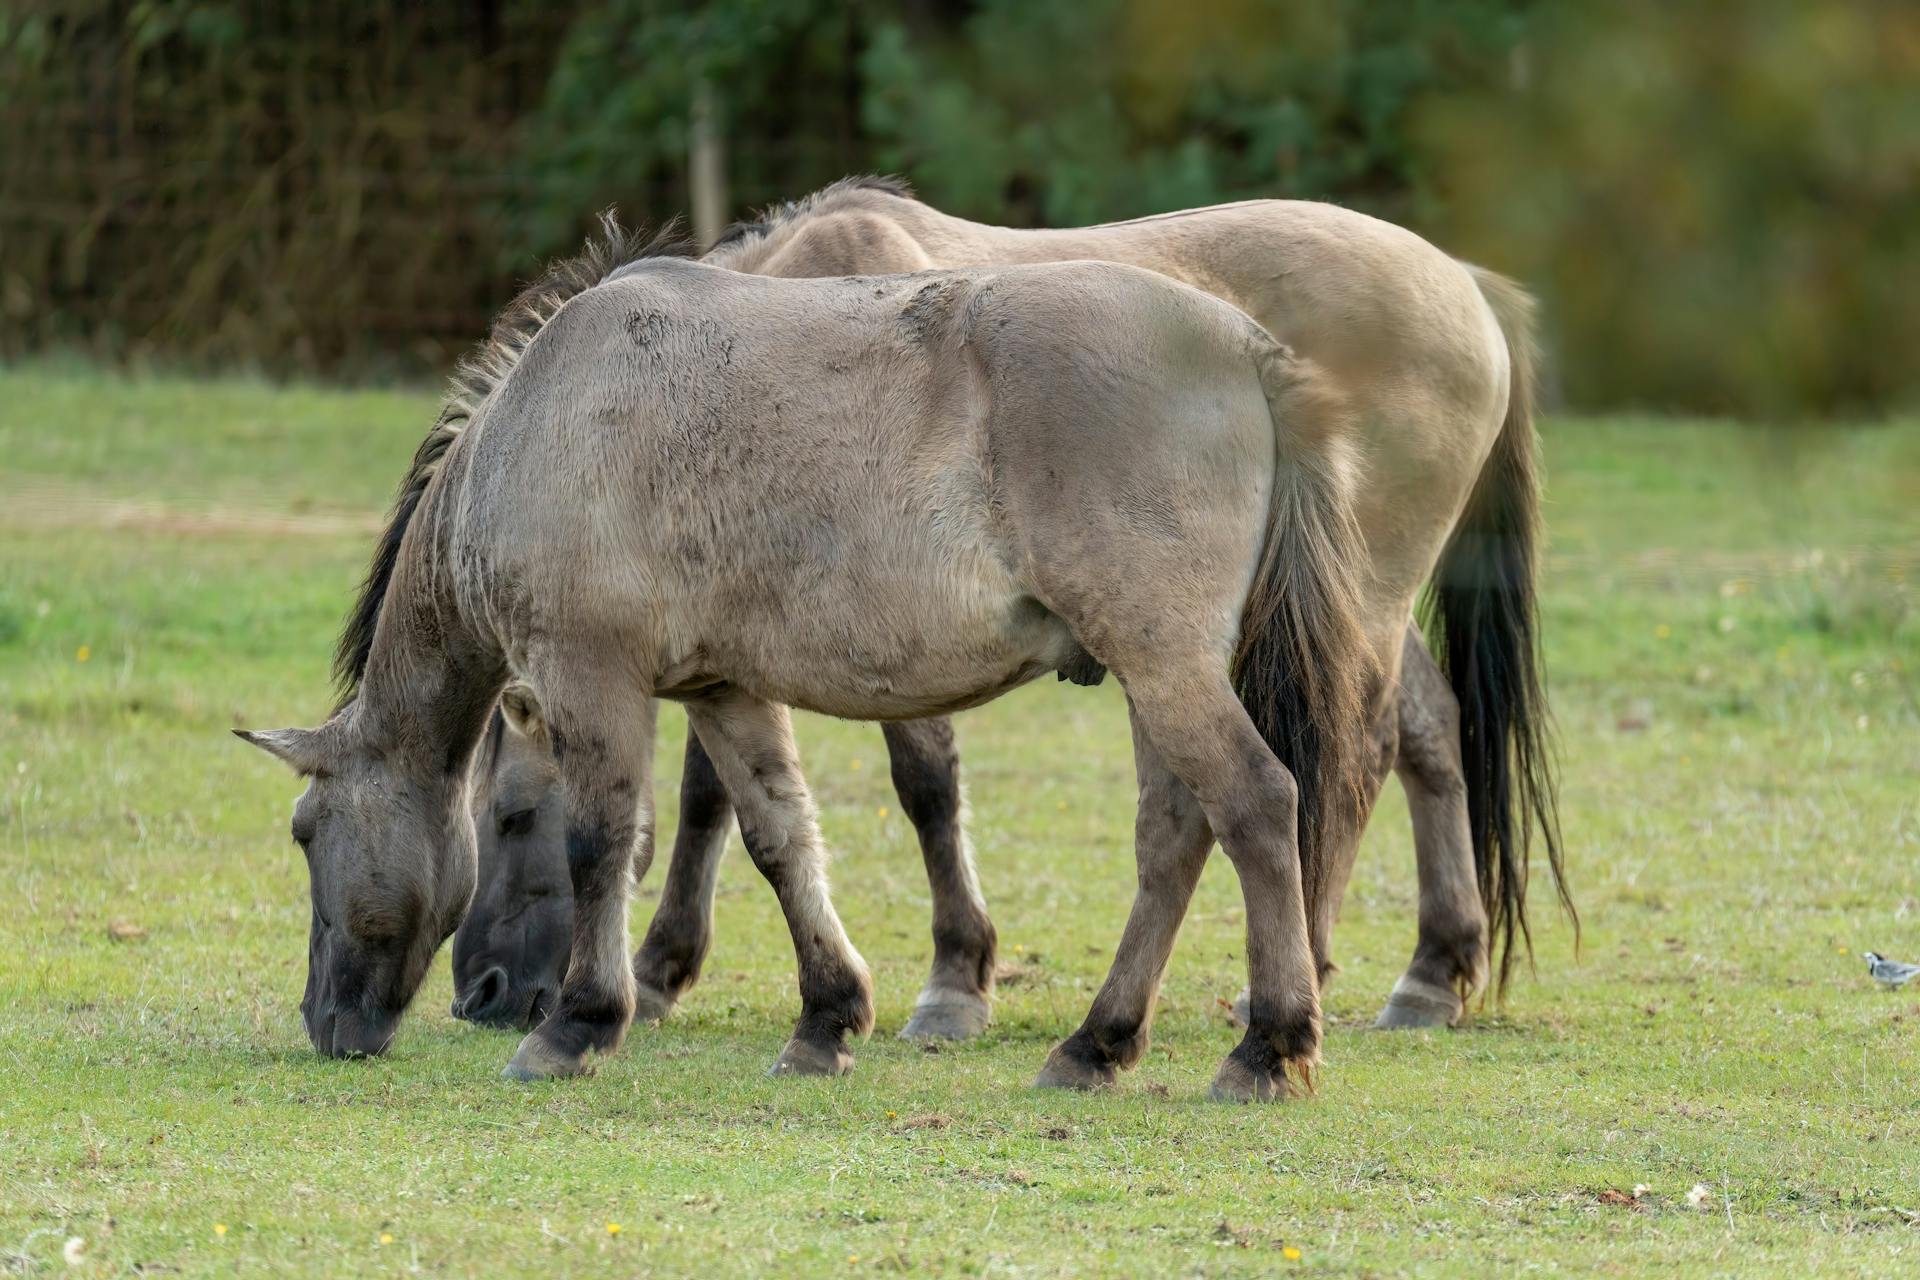
Neck reining a horse can be a difficult but rewarding task to teach. It’s important to keep in mind that the goal of neck reining is for the horse to respond quickly and accurately regardless of which rein is used, making it one of the most useful equestrian commands. Here are some simple steps you can take while teaching your horse how to neck rein:
1. Begin by getting your horse comfortable with basic maneuvers, such as side-passing or turning circles, using only one hand on the reins. This will help your horse understand what is expected from any given command.
2. After your horse has mastered basic maneuvers using only one hand on the reins, start asking for them using just one set of reins and no other cues from yourself or your body language (no shifting in your seat). This will prepare them for neck reining because they need to learn that a certain feel of pressure on their neck should always make them react in a specific way, regardless of whether you’re pulling on both reins or just one.
3. Once they understand this concept, tie a small loop around both sets of reins with enough slack so there are two ends dangling down (the same way you would do when longlining). Now pick up whichever end you want and direct it towards whatever side/direction you want them to move/stop their momentum - this will help create an association between each rein and its associated direction/maneuver since each have now been marked off separately (e.g left=turn left; right=turn right). Now put pressure directly onto that single rein instead rather than through both hands like before! If he moves correctly – congratulations; he’s beginning to learn how to neck reign!
4.. Transition back into having two hands on two separate sets when doing basic maneuvers until eventually he responds correctly even if he can feel simultaneously two different pressures coming through either side – this means he’s able confidently respond well even if no markings are applied & begin confidently neck reigning between each other!
With practice and patience while teaching this skill it won't take too long before your trusty steed understands how much easier life can be when responding correctly & approximately how easier life could become when taught this necessary command! Your ride together should become smoother & much more pleasant after successfully completing/learning such an important skill as ‘neck reining' :)
Related reading: Side Pass
What is the best way to teach a horse how to side pass?
Teaching your horse how to side pass is an important skill for two main reasons. First, it’s a fundamental step in collection and engaging hindquarters, which improves the horse’s overall performance. Secondly, it can be very useful in everyday situations such as navigating gates and other tight spaces. Fortunately, teaching a horse to side pass is relatively simple if you follow the right steps.
The first step is to make sure your horse has a solid foundation of response to leg and rein cues. When driving the horse forward with your legs on both sides of his body, he should anticipate pressure from each side equally and respond promptly by moving away from both sides. Once you have established an adequate level of responsiveness with basic driving techniques, you can move on to introducing the side pass maneuver specifically.
Start by using one hand or two when asking for the change of direction that builds up into a full sidepass. Make sure that you rate your movements along his body so that he becomes comfortable performing those movements towards either direction at slow speed first before picking up speed later on after mastery has been achieved at slower paces. As he begins to understand what is expected of him, gradually increase your requests in order for him become more responsive - using both hands if necessary when changing direction so that he continues doing it until you ask him not too; or use rewards such as verbal cueing or treats after each successful execution etc... After some practice at slower speeds (where responding correctly isn't intimidating) then begin progressing into faster speeds while simultaneously becoming softer with regards to our cueing pressures but maintaining them consistently upon gaining better response(s).
An effective training assistance aid here might consist of some type of shoulder control device like draw reins which will help make engagements easier as well suggest whenever needed; being careful not overdo anything too quickly because rushing a horse into something they do not completely understand may create bad habits instead! Last but certainly not least always assess progress periodically as needed; stopping before any progress gets lost due by taking breakers - re-evaluating together where mistakes are made so corrections are made accordingly accordingly before continuing.
For your interest: How to Teach a Dog Obedience
How do I stop a horse from pulling back when being saddled?
One of the most frustrating experiences for a horse owner is when their horse pulls back during saddling. This can be a safety hazard, and it is essential to address it in order to ensure the safety of both the rider and the horse. Fortunately, there are several strategies you can use to prevent your horse from pulling back during saddling:
1. Start with lunging and long-lining exercises: Before attempting to saddle your horse, take them through some lunging exercises to help relax them mentally and physically. Additionally, practice long-lining activities with your horse, as this will help them become accustomed to having pressure placed on their body by the lead rope or rope halter while wearing a bridle. This technique should help reduce resistance when you come time to saddle up.
2. Make sure they stand still: When saddling or bridling your horse make sure they stay still; if they start pulling away or anticipating moves towards them try using calming techniques such as massaging their neck, gently running fingers along their sides or giving treats for good behavior. Additionally, make sure that you give clear commands when putting equipment on so that your message is relatable and easy for them to understand what you want from them at all times.
3. Ensure all tack fits properly: Before attempting any experiments with trying different methods of prevention from pulling back while being saddled always check that all tack fits properly on her legs - including stirrups - blankets etc., this will work towards easing any potential discomfort before she gets agitated about being restrained via tight cinching of girths etc.. In addition check tack every ride session so there is less chance something has worn down or loosened over time which could place extra strain on your horses body rather than extra comfort which could really encourage her not pull away out fear or discomfort!
Ultimately these strategies should generally provide an effective way at preventing horses from yanking when being saddled however if problems persist then seeking professional advice may be wise in order keep both yourself and equine friend safe!
A different take: What Do Horses Do When They Are Scared?
What are the steps necessary to teach a horse to lope on command?
Teaching a horse to lope on command is no small feat, and can indeed require a significant amount of time and patience. That said, with an appropriate training regimen and appropriate equipment, it can be done in an effective and relatively safe way if done correctly. Here are the steps necessary to teach your horse to lope on command:
1. Start by building up your horse’s strength, endurance and familiarity with cues while they trot or moving at different speeds in hand or under saddle. This will help you build trust as well as getting them used to responding quickly when you give a cue for speed changes.
2. Once your horse is familiar with speed commands from the walk, add cues for loping from a trot or canter (depending on which gait precedes the transition). It’s important not to ensure fast transitions during this period—rather work towards these slowly so that they learn how respond correctly each time you give them instructions.
3. Be consistent when crafting cues that you would like your horse to respond to when initiating the lope; once they have learned one cue then stick with it until consistently successful responses have been achieved – this will make them more reliable during future transition commands.
4Start lunging first before introducing descending transitions into riding sessions where greater trust between yourself and the animal is required; use flags for distractions if necessary (especially for horses who may lose focus easily) make sure that your reins are controlled even during lunging otherwise this could lead difficulties during actual mounted sessions/lessons/training sessions later down the line.
5Once it looks like everything is ‘clicking’ transition softly from walk-canter-walk-lope using well established verbal & physical queues some horses may become nervous initially due multiple steps involved; take time while teaching so that you don’t overwhelm your four legged friend! Always start at a slower pace if possible - use abrupt transitions only after confidence has been built up remember reward their progress along the way – spending regularly scheduled quality time together will help cement trust AND enable faster understanding of new tasks & challenges along wispy long down times!
Explore further: What Do We Do When We Fall off the Horse?
How can I get a horse to stop bolting away when asked to turn?
Having a horse bolt away when asked to turn can be dangerous and frustrated for both you and the horse. To encourage better behavior, it's important to create the right environment for success by breaking down the basics of any good turn. Here are some tips for getting your horseto stop bolting:
1. Make sure your foundational flatwork is solid – since bolting is a sign of an inability (or unwillingness) to turn correctly, make sure that you are working with a solid foundation in terms of flatwork before even attempting something as challenging as getting your horse to stop bolting away while turning. This will ensure that they can properly understand both your verbal and physical cues from the start and make it easier/safer for them later on in their training
2. Take things slow – before increasing difficulty of turns, start with small circles or figure-eights at walking speed only; use lots of physical cues such as leg yields over short distances so that eventually they learn to look where you want them rather than bolt away when asked to move
3. Keep the reins loose – if possible, avoid doing anything abrupt which could spook or scare the horse while turning; use very light contact on either side (inside rein slightly pulling up) so that they do not feel tight pressure on their mouth but also know what direction they should be looking/moving in; try “following hands” as often as possible- this means allowing your hands/reins down far enough such that when turning left, same rein will hug behind neck (along armpit) then come forward in front of withers keeping hang forward motion until next corner following neck contour again
4. Keep calm when asking them to perform turns - finally remember not to panic yourself - just keep speaking calmly and firmly letting your horse know which way(s) he needs to go before asking her any tight turn maneuvers; if necessary take breaks every now and then wear back end goes higher than front works round hillside etc...all these subtle changes might help keep her confidence up so she does not run off every time she has too much pressure exerted u onto her
Although these tips won't guarantee success overnight, consistently practicing these techniques throughout your training should gradually improve how wellyour horse responds to requests for turns without feeling overwhelmed or resorting top bolts away out of panic!
You might enjoy: Free Rein
What strategies should I use to get a horse to stop and stay stopped when asked?
If you want your horse to stop and stay stopped when asked, the key is consistency and positive reinforcement.
To get a horse to stop on cue, start by doing groundwork exercises in various locations and contexts. Start by asking for very short stops, then gradually increase the duration of the stops as your horse becomes more experienced with the exercise. Work in different areas such as open fields, on a longe line, or even using an obstacle course or trail route. Make sure that you are always rewarding good behavior with treats or praise so that your horse learns what is expected of them.
When riding, always clearly cue a stop before they have time to slow down naturally and keep an eye out for signs of impending disobeying such as resistance or shifting away from you while walking or trotting. If they do not respond immediately repeat the same cue until they obey and don't give up if it takes longer than normal - sometimes reminders are just what it needs for your horse to understand what is being asked of them! Be consistent when repeating cues - this will help show your horse that you mean business! Additionally try including voice commands so that both verbal AND body language cues can be used from the very beginning- this will increase consistency among all riders who work with your horse going forward.
In short: start small at ground level; vary locations/environments; reward good behavior; use consistent cues; utilize both body language and voice commands when possible - this way will help get horses to stop quickly and remain static until asked otherwise!
A fresh viewpoint: What Does It Mean When a Horse Is Green?
What methods should I use to teach a horse basic lead departure exercises?
When it comes to teaching a horse basic lead departure exercises, the most important thing is to start small and build up to more complex exercises. Here are some methods you can use:
1. Introduce the horse slowly: Start by simply walking them around in a large circle or pattern at varying speeds depending on the horse’s comfort level. This will help them get used to the feeling of being led and give them an idea of your expectations.
2. Use cues: Offer verbal direction (e.g., “Walk,” “Trot,” “Canter”), as well as physical cues (voices, pull on lead rope) to encourage movement from one area to another and allow for consistency from one exercise session to another.
3. Make sure your horse is comfortable with changes in direction: Change directions frequently during each exercise session so that your horse gets used to responding quickly and correctly no matter which way you turn or move in the arena. If possible, add obstacles such as jumps or ground poles for further challenges!
4. Talk through each step aloud so that your horse can become familiar with these concepts early on: Verbalizing instructions let's horses know what you expect before they even move their feet! Additionally, describing every action while performing it provides structured learning opportunities and reinforces behavior quickly over time as they associate words with actions/results faster than watching someone do something else silently!
By starting off slow and following these steps throughout training sessions, eventually your horse will be able sense when changes in movement are requested without needing verbal directions or physical cues every single time – this is how lead departure exercises can be mastered over time!
Broaden your view: Why Was the Horse so Happy?
Featured Images: pexels.com