If you're looking for a fun and easy project to make with your kids, pipe cleaners are the perfect material! With just a few supplies, you can make all sorts of fun animals and shapes. Pipe cleaners are also a great way to teach basic crafting skills to kids. In this project, we'll show you how to make a horse out of pipe cleaners.
You'll Need:
-Pipe cleaners in brown and white (or any other colors you like) -Scissors -Googly eyes
Instructions:
1. Start by cutting two pipe cleaners in half. These will be the legs of your horse.
2. Take one of the pipe cleaner halves and wrap it around the center of one of the full-length pipe cleaners. This will be the body of your horse.
3. Continue wrapping the pipe cleaner half around the body until you reach the other end. Secure the end by twisting it around the body.
4. Cut two more pipe cleaners in half. These will be the horse's ears.
5. Take one of the ear pipe cleaners and fold it in half. Wrap the folded end around the top of the horse's head and secure it by twisting it around the body. Repeat with the other ear pipe cleaner.
6. To make the horse's mane, take a pipe cleaner and cut it into thirds. Wrap each third around the horse's neck, securing the end by twisting it around the body.
7. Finally, add googly eyes to your horse's head to finish it off!
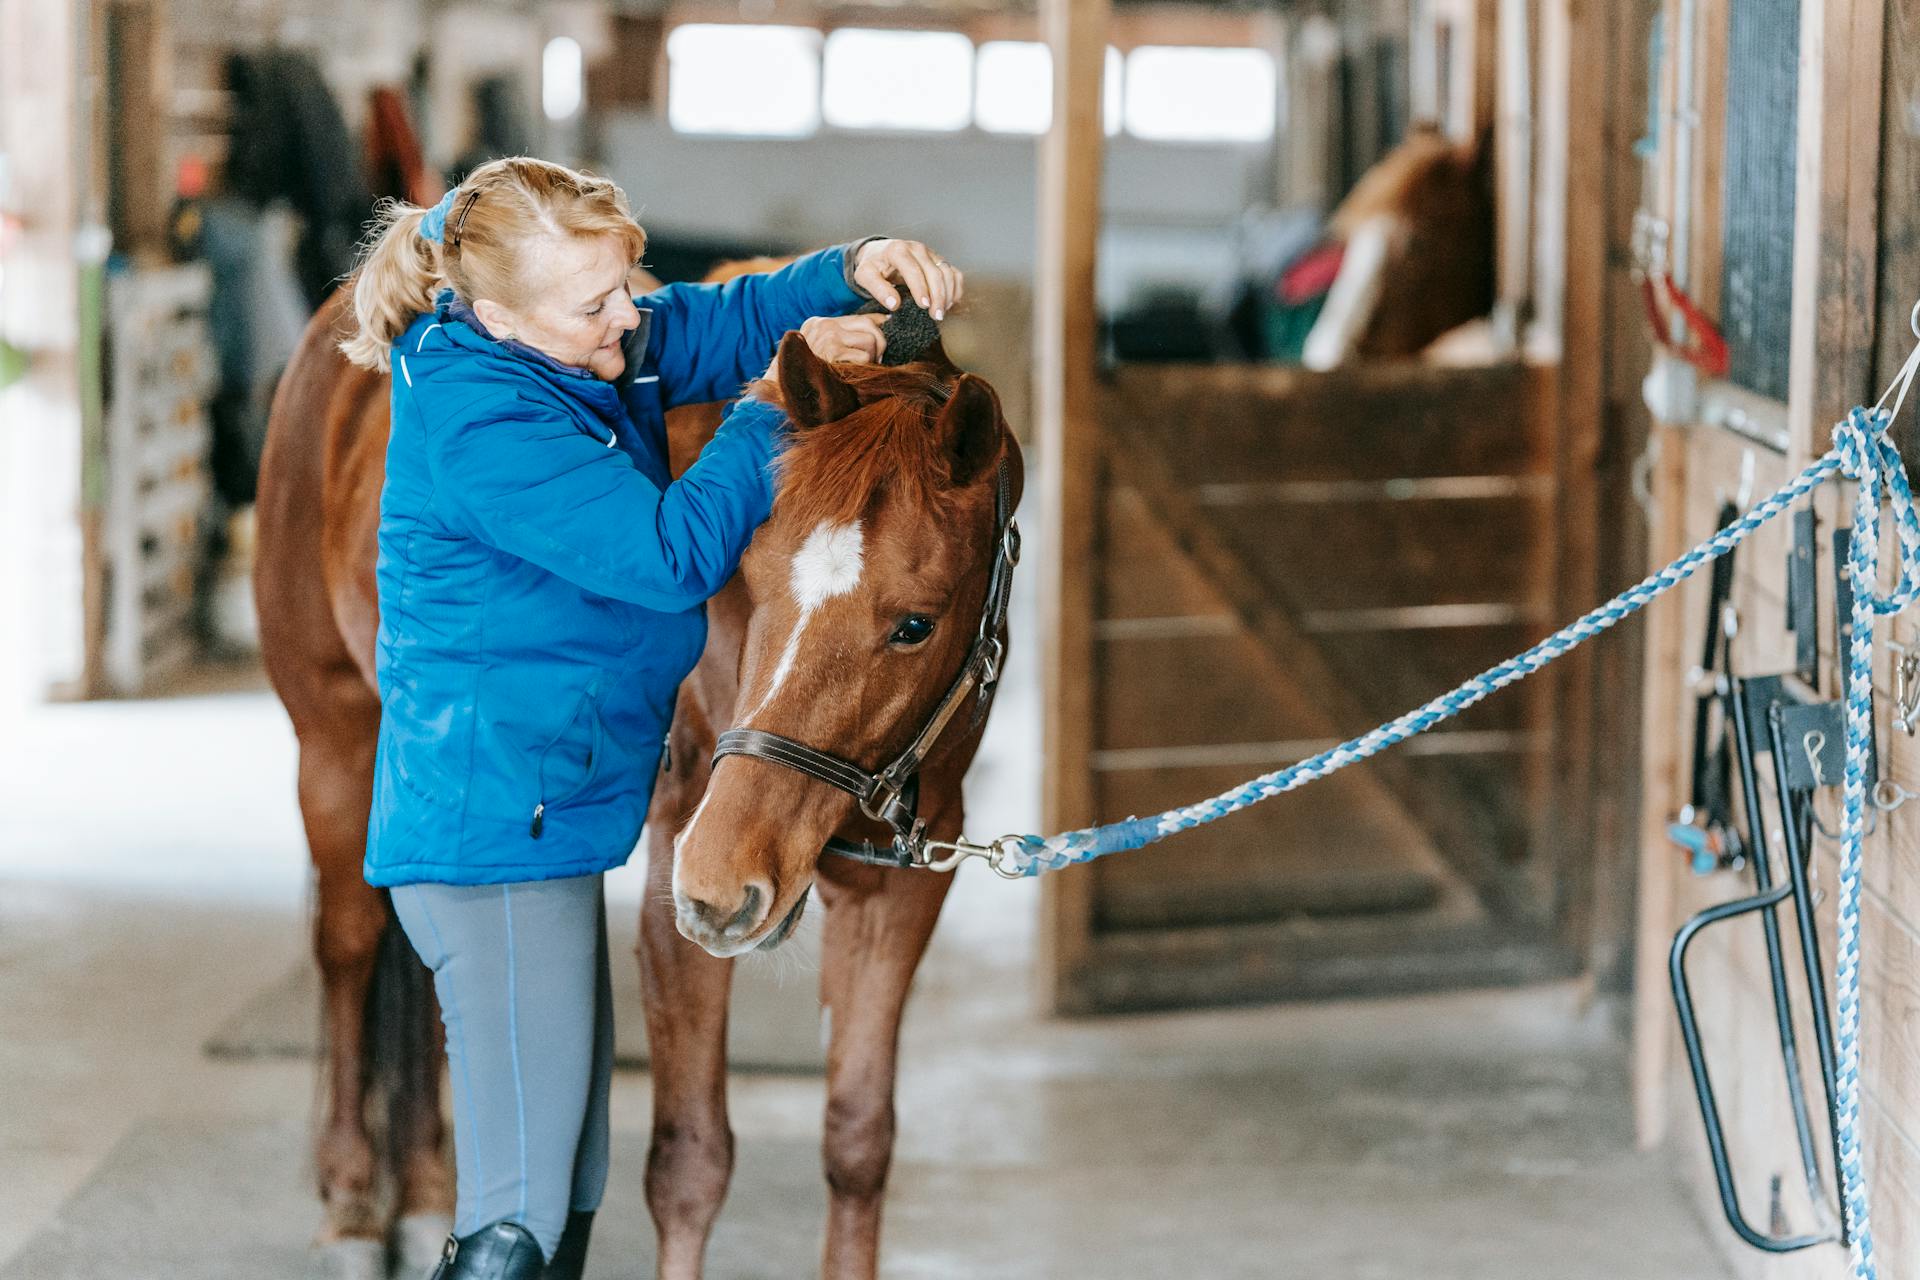
Related reading: How to Sweat a Horse's Neck?
What supplies do you need to make a horse out of pipe cleaners?
Assuming you would like a materials list for making a horse sculpture out of pipe cleaners:
-Pipe cleaners in various colors -Scissors -Wire cutters -Glue -Markers or paint (optional)
First, you will need to gather all of your supplies. You will need pipe cleaners in various colors, scissors, wire cutters, glue, and markers or paint. The number of pipe cleaners you will need will depend on the size of the horse you would like to make.
To make the horse, start by making the head. Cut two pipe cleaners in half and twist them together to form the head and neck. Then, add the ears. For the body, take four pipe cleaners and twist them together. Cut two of the pipe cleaners in half and twist them around the body to form the legs. For the tail, take one pipe cleaner and curl it into a spiral. Attach the head, body, and tail together with glue or by twisting them together.
Finally, use the markers or paint to add details like the eyes, nose, and mouth. You can also use pipe cleaners of different colors to create a detailed coat. Once you are finished, your horse sculpture is complete!
Suggestion: How to Cut a Horse's Mane?
How do you make the horse's legs?
There are a few things to consider when making horse's legs. First, what type of horse are you making? There are many different types of horses, each with their own leg proportions. Second, what material will you be using? There are many different materials that can be used, each with their own advantages and disadvantages. Third, what is your budget? This is important to consider because horse legs can be quite expensive.
Now that you have considered all of these factors, you are ready to start making horse's legs! The first step is to gather all of your materials. You will need a measuring tape, a pencil, a sharp knife, and your chosen material. Once you have all of your materials, you will need to measure the horse's legs. The measurements you will need to take are the length of the leg from the shoulder to the hoof, the width of the leg at the shoulder, the width of the leg at the hoof, and the circumference of the leg at the widest point.
Once you have all of your measurements, you are ready to start cutting your material. You will want to cut four pieces of material, one for each leg. The pieces should be the same length and width as the measurements you took, and the circumference should be slightly larger than the measurement you took. This will allow for some extra material in case you make a mistake.
Once you have cut all of your material, you are ready to start assembling the horse's legs. The first step is to take one piece of material and fold it in half lengthwise. Next, you will want to take the other piece of material and do the same thing. Once you have two pieces of material that are folded in half, you will want to take the third piece of material and fold it in thirds. This will create a triangle shape.
The next step is to take the fourth piece of material and fold it in half. Once you have done this, you will want to take the third piece of material and put it inside of the fourth piece of material. This will create a tube shape. You will want to do this for all four pieces of material.
Once you have all four pieces of material in the tube shape, you are ready to start assembling the horse's legs. The first step is to take two pieces of material and put them together so that the long sides are touching. Next, you will want to take the
How do you make the horse's head?
First, you must find a horse. Second, you must kill the horse. Third, you must skin the horse. Fourth, you must remove the head from the horse. Fifth, you must boil the head. Sixth, you must remove the skin from the head. Seventh, you must remove the eyes from the head. Eighth, you must remove the ears from the head. Ninth, you must remove the tongue from the head. Tenth, you must remove the teeth from the head. Finally, you must sew the head back together.
Suggestion: Horse Head
How do you make the horse's mane and tail?
A horse's mane and tail are two of the most important aspects of its appearance. They not only add to the beauty of the horse, but also help it to stay cool in summer and protect it from the cold in winter. In order to keep your horse's mane and tail in good condition, you will need to brush them regularly and use the right products.
The first step in keeping your horse's mane and tail healthy is to brush them daily. This will remove any dirt, debris, or knots that have become tangled in the hair. It is important to use a soft brush when brushing a horse's mane and tail, as their skin is very sensitive.
In addition to brushing, you will also need to use the right products on your horse's mane and tail. There are a variety of shampoos, conditioners, and detanglers on the market that are specifically designed for horse hair. You should use these products according to the directions on the package.
Finally, you will need to trim your horse's mane and tail on a regular basis. This will help to prevent the hair from getting too long and tangled. You should use sharp scissors or clippers when trimming the hair, and be careful not to cut too close to the skin.
By following these simple tips, you can keep your horse's mane and tail healthy and looking their best.
Additional reading: What Do We Do When We Fall off the Horse?
How do you attach the head to the body?
There are many ways to attach the head to the body. The most common way is to use screws. First, you will need to find two screws that are the same size. Next, you will need to put the screws into the holes in the head. After that, you will need to put the body onto the screws. Finally, you will need to tighten the screws.
How do you attach the legs to the body?
There are a few ways to attach legs to a body. The most common way is to use screws and bolts. You can also use nails or Staples.
How do you decorate the horse?
Assuming you would like a step by step process on how to decorate a horse:
The first step is to gather your materials. You will need:
-A plastic drop cloth or tarp -A set of horse clippers -A set of body brushes -A large sponge -A bucket -A small amount of mild soap -A small paintbrush -Non-toxic paint -A few small ribbons
The second step is to prepare your workspace. Spread the drop cloth or tarp out in an area where the horse can easily stand on it and will not be disturbed. Make sure the area is well ventilated.
The third step is to clip the horse's coat. You will want to start with a body clip, which will remove the majority of the horse's hair. Be very careful not to clip too close to the horse's skin. You can always go back and do a closer clip if necessary. Next, use the horse clippers to trim the hair around the horse's face and legs.
The fourth step is to brush the horse's coat. Start with a body brush to remove any dirt or debris. Next, use a soft brush to help work the soap into the horse's coat.
The fifth step is to sponge the horse down. Wet the sponge with warm water and mild soap. Gently sponge the horse's coat, being careful not to scrub too hard.
The sixth step is to paint the horse. You can use non-toxic paint to create any design you like. Be sure to allow the paint to dry completely before moving on to the next step.
The seventh step is to add the finishing touches. Tie ribbons in the horse's mane and tail. You can also add glitter or sequins to the horse's coat for a bit of sparkle.
And that's it! You've now successfully decorated your horse.
Curious to learn more? Check out: Trace Clip
What can you use the horse for?
Horses are one of the most versatile animals on the planet. They can be used for a variety of purposes, from transportation to recreation to work.
Horses have been used by humans for transportation for centuries. They are still used today by some people, particularly in rural areas where cars are not as common. Horses are also used by the police and other law enforcement agencies for crowd control and security.
Horses are also popular for recreational purposes. Many people enjoy riding horses for leisure, and horseback riding is a popular sport. Horses are also used in racing, both for pleasure and competition.
Horses are also still used for work purposes in many parts of the world. They are commonly used on farms and ranches for tasks such as herding livestock. they are also used by the military for transportation and other purposes.
Intriguing read: Wear Riding
Frequently Asked Questions
How do you make a pipe cleaner animal head?
To make a pipe cleaner animal head, start by bending the full length of pipe cleaner in half. Next, using your round nose pliers, make small circles out of the two ends of the pipe cleaner. Make sure that the circles are evenly sized and that they are slightly closer to one end than the other. Finally, use your scissors to carefully cut off the excess pipe cleaner around each circle.
How do you make a leg out of a pipe cleaner?
Cut a short, straight section from one end of the pipe cleaner. Make a small loop at one end of the cut pipe cleaner. Holding the shorter end of the pipe cleaner stationary, make a small curl in the other end of the cut pipe cleaner. The curl should be close to, but not touching, the loop. Carefully pull the long section of pipe cleaner tight so that the curl is pushed into the loop. Trim any excess plastic away from both ends of the pipe cleaner.
How do you make a tail out of pipe cleaner?
Repeat the steps for the other leg of the kangaroo.
Why are pipe cleaner animals great everyday projects?
Pipe cleaner animals are cute, easy to make, and great for practicing your creative skills.
How do you make a pipe cleaner animal?
To make a pipe cleaner animal, first you will need two pipe cleaners. You can twist them together to create a striped body and then add a drop of craft glue at the ends so they don’t come apart. Bend about ½ inch (1 cm) of one end to start making a head and then repeat that. Twist the head a little to make the head slightly flat. Make a small tongue out of red fabric or felt.
Featured Images: pexels.com