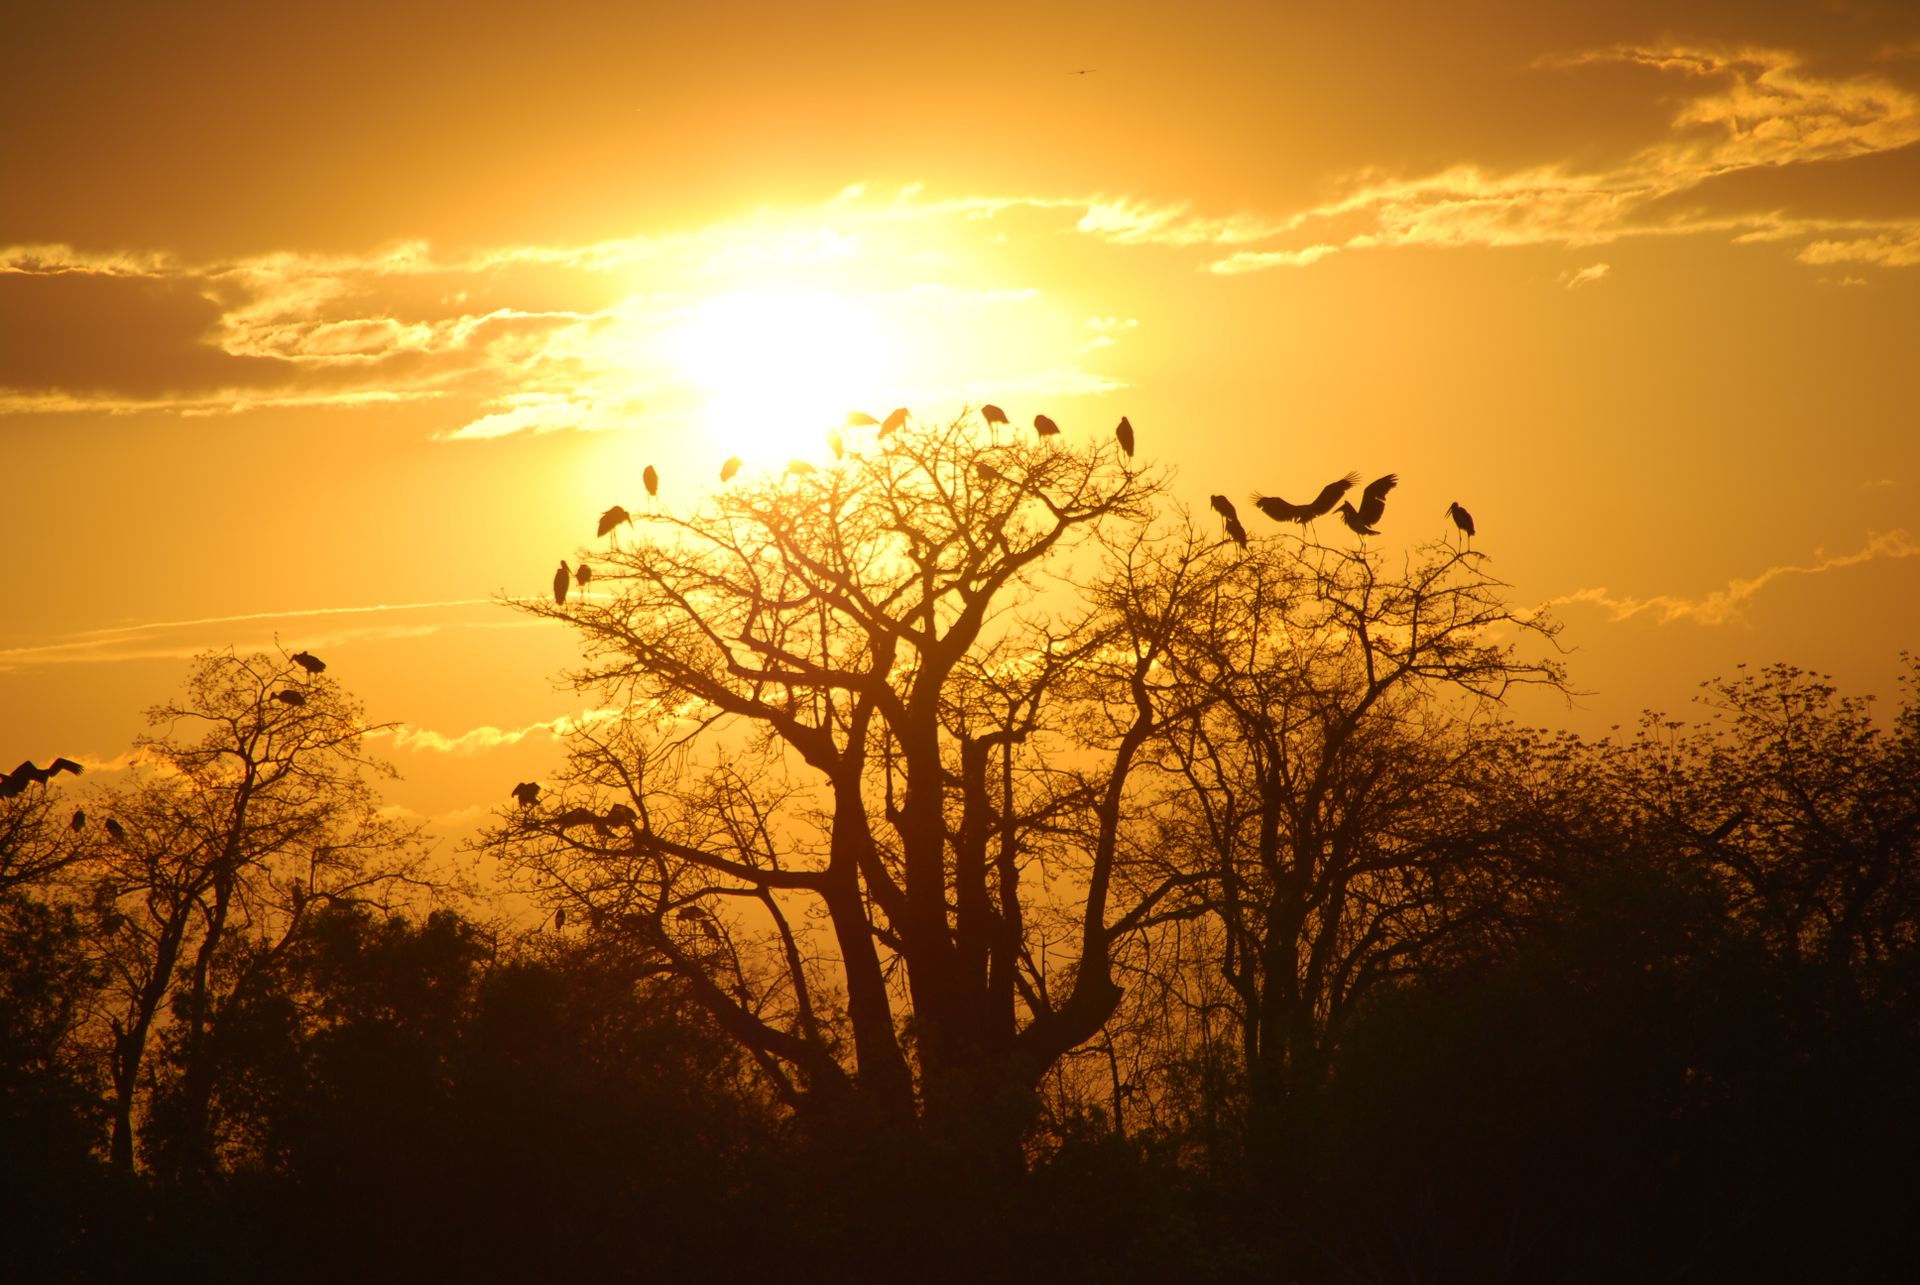
When it comes to keeping birds away from your garden or other areas, installing bird netting is an effective and humane solution. Bird netting is a physical barrier that will form a protective shade over the area where birds usually congregate, which should discourage them from landing in that spot. Follow this guide to install bird netting in an easy and effective way:
1. Measure up the size of the area you wish to cover with bird netting so you can purchase enough material to cover it. Make sure there is some extra material for lapping over at any edges or corners for better coverage and protection.
2. Make sure all edges of the bird netting are securely tied off with durable ties or clips so no loose ends come apart over time due to air movement. Make sure these are strong enough so birds won’t be able to get under them if they try pecking their way through!
3. Trim off any sharp edges on your sheeting as these may injure anyone making contact with them (such as yourself).
Be careful when handling wire tools while performing this step safety glasses should be worn at all times when using cutting devices of any kind! You may even want a pair of thick leather gardening gloves on top just in case!
4. If you have access onto rooftops or higher places where there could be vents or ducts installed, make sure the mesh has some form of vent holes cut into it that allows warm air escape without bringing new birds in; this will further increase security inside while also keeping heating bills at bay during cold months too!
5. Install posts around each side and across beneath your structure so that you can tie-off bird-net at intervals throughout its length – make sure these posts are firmly planted into ground below for better stability against wind movement too!
6. As a final step after securing your mesh onto posts & grommets from previous steps – add some weight / heave along bottom line feeding out into ground below; this will help further limit risk posed by wind gusts against overall installation strength/efficiency & effectiveness…Congratulations - now you have set up your own certified Bird Net Installation expertly done by yourself alone - Enjoy!
For another approach, see: Pit Bulls Net Worth
What are the steps to set up bird netting?
Setting up bird netting can be a daunting task, especially if you don't know where to start. However, the process doesn't have to be intimidating! Here are the steps for setting up bird netting to help keep pesky birds away from your gardens and other areas in your landscape:
Step 1: Take measurements of the area that needs protection and determine where you will need netting. Make sure that your measurements are precise – it's better to overestimate than underestimate since cutting too much netting is always easier than having to buy more if needed!
Step 2: Purchase the right material for your bird netting. To ensure it's strong enough, select a product with a UV stabilized knotless nylon protective mesh or a similar material. You'll also want to purchase zip ties or U-shaped clamps; just make sure they are suitable for outdoor use so they won’t rust or weaken over time.
Step 3: Start by carefully unrolling the bird netting and stretch it tightly on frames (if needed). If not, loop tie lengths of rope anchored at several points around the area you’re protecting from birds. Secure tight so birds can’t get through any gaps in between ropes or posts that support your frames. Anchoring is key because loose patches in between can still give clever birds access!
Step 4: Attach the edges securely with zip ties or U-shaped clamps, making sure there aren't any gaps in coverage large enough for birds to squeeze through. Trim excess material as needed by either cutting it out with scissors, giving it a nice neat finish on all sides so no extra pieces are flapping around attractively enticing flying feathered visitors (not what we want!).
Step 5: Double check all attachments and make any necessary adjustments before celebrating successful installation of your helpful new bee/bird defense system! Now enjoy watching lovely winged creatures without worrying about them snacking on edibles grown specially for human consumption – happy gardening!
What supplies are needed to install bird netting?
When it comes to protecting your garden, home, or farm from birds, installing netting is an effective and efficient way to keep unwanted visitors away. With the proper installation of bird netting, you can protect your crops and property from damage caused by flock foraging for food. But before you start the installation process, it is important to know what supplies are necessary for installation. Here are the essential tools and materials needed in order to install bird netting:
1. Bird Netting – This lightweight material is typically made with polyethylene which provides a durable protective cover against pest birds. The netting itself must measure up enough slack so that when stretched out, it can reach over any potential area where bird are likely roosting or nesting.
2 Hammer or Staple Gun – You’ll need an instrument that will securely hold down the edges of the net so no birds can slip underneath or over them during take off and landing attempts.. A hammer works well but using a staple gun saves time if you have one handy on hand.
3 Safety Rails - To ensure complete coverage across your property’s perimeter edges such as buildings, fences etc., install safety rails along these areas in order too secure any holes or loose spots in your bird-net security operating system
4 Ladder - When hanging up large pieces of fabric such as bird-netting; ladders are essential tool used by professional installers as they allow access making stretch more evenly across areas that require it most . Be sure not too skimp ol safety when using large ladders, using appropriate fall protection safety gear is key
5 Plyboard – Using rough cut 1/2 inch plywood along margins of long runs between structures such as homes barns and/or neighborings properties will provide point anchor points when attaching larger pieces of fabric ensuring slacking ne amount s won’t offset due allying shifting winds.
6 Scissors / Utility Knife - As with any project involving fabric materials scissors come highly recommended, this allows do make precise cuts avoiding overlapping material getting caught & coiled at overly tight corners. Also bring Knife construct sharp clean trims around window frames wood posts vines rails & other corner elements where traditional scissors may not fit.
How do you choose a bird netting size for your application?
When it comes to choosing the right size bird netting for your application, there are several important considerations. First and foremost, you want to consider the size of the area or structure you're trying to protect. The larger the area or structure, the bigger your bird netting will need to be in order to cover it adequately. Additionally, if there are gaps between different parts of your structure that birds may be able to gain access through, you'll likely have to increase the size of your bird netting in order to cover these areas as well.
Additionally, it's important that you take into consideration the type of birds that frequent your area when selecting a net size. Different species of birds may be attracted to different types of food or seed sources and therefore require a particular size mesh with smaller openings than other types of pests—such as sparrows needing fine mesh versus pigeons requiring slightly larger mesh sizes for adequate coverage—to prevent them from accessing what they find attractive on your property.
Some local pest control companies specialize in assisting property owners with choosing an appropriate bird control product that is suitable for their particular needs; this can be especially true if dealing with more problematic areas like barns or enclosed porches and decks where certain species can become persistent nuisances.
Ultimately, finding an appropriate sized bird netting for one’s application depends on doing enough research ahead of time regarding which type and size best suit one's specific needs—a task made much easier when enlisting professional advice if available!
What types of bird netting are available?
Bird netting is essential for protecting your home, garden or farm from the destruction that birds can cause. There are many different types of netting to choose from, depending on the type of birds you need to ward off and your specific needs. Here’s a breakdown of the most popular bird netting options available:
Plastic Netting - Plastic netting has tiny holes throughout and comes in two varieties: black plastic mesh with 0.6mm x 0.6mm openings, or black plastic mesh with 1 x 1m openings. This type of bird net is lightweight and very economical, making it a great option for keeping out small birds such as starlings. However, it won’t be effective against larger pest species like pigeons or crows.
Metal Wire Mesh - Metal wire mesh is strong enough to keep even the most determined pest birds away while still allowing airflow through its slightly bigger 1x2m openings. It’s generally easier to install than plastic nets due to its higher rigidity and weight, but steel chicken wire can rust over time so make sure you choose a high-quality galvanised coating if exposed outdoors for long periods of time or exposed regularly to moisture/rainfall conditions.. This kind of metal bird proofing also tends to be more expensive compared to other types.
Fiberglass Netting - Fiberglass nets have a unique grid pattern consisting of square meshes that are 2x2cm in size – perfect for keeping out smaller pest bird species like sparrows or finches without blocking too much sunlight or air flow into the area you need protected; ideal if using around windowsills where protection against pests must be balanced with ventilation requirements too! Fiberglass doesn’t fray easily when cut either so there isn’t any maintenance required after installation either – an added bonus! Its more expensive price tag comes with added strength though; this material will stand up well against rainwater over time without deforming like some other materials could do when exposed day after day…a common problem especially if dealing with migratory birds who stay in one area longer during certain parts of year!
UV Stabilised Polyethylene Netting - UV stabilised polyethylene (or UVPP) netting provides an effective barrier against almost all sizes and breeds of pest birds thanks to its small 0x0m meshes which form tight ‘knotless barriers” made from durable HDPE strands further ensuring no pesky critters can slip past them anytime soon! It also has excellent resistance levels from ultraviolet rays – meaning it won't quickly break down when exposed directly sunlight over extended period which would cause certain materials quickly fade lighten up then become weak at points faster than usual (hence why “UVPP" should always get chosen!). Although this kind costs more upfront given its superior quality; there's also minimal maintenance required afterwards so it'll save money long run by not having needing patched up now again sometime soon afterwards…perfect choice those who planed stay put areas far longer term like farms that don't move around lot year round basis!
Readers also liked: Black Birds
How do you know if bird netting is doing its job?
In order to know if bird netting is doing its job, it's important to monitor for evidence that birds either have been or are attempting to enter the protected area. This can be done through several methods.
The first, and simplest way is to keep an eye out for visitations from birds, such as in your garden or surrounding areas. Look for evidence of droppings left by birds that may have attempted to gain entry into the area you’ve covered with the bird netting. You can also look out for holes appearing in the netting, as this could indicate a determined attempt by a bird to penetrate it.
The second, and more technical way of assessing how effective your netting is would be with an infrared camera, monitored at night when all activity has died down and it’s only animals moving around - feeding off or trying to enter certain areas which are blocked off with protective measures like bird netting. If you notice any movements near your covered area during these recordings then it’s likely you will need some extra protection in order to stop these creatures gaining access any further into your space
Finally, using decoys could also help assess if your bird netting is doing its job effectively. Placing decoys (like raptor silhouettes) nearby can deter most species of birds away from areas which they may otherwise target – this will give you a clearer idea whether any winged-visitors have managed their way through and around the protection provided by the mesh fabric of your birdnet system or not.
Overall there are various ways one can assess if their specialised mesh fabric solution (such as birdnet) is working properly - keeping both naughty animal intruders away from delicate plants and flowers!
Curious to learn more? Check out: How to Put a Bird Out of Its Misery?
What precautions should you take when installing bird netting?
Installing bird netting is a great way to protect your garden, lawn or other areas from birds. However, it’s important to take the proper precautions when installing this type of netting. Here are a few tips for safely installing bird netting:
1. Check for existing damage – Inspect the area where you plan to install the bird netting before beginning installation. If there is already damage in the area such as torn screens or missing shutters, this could become worse if not properly addressed before continuing with installation.
2. Use heavy-duty materials – Bird netting can be made from various materials including plastic, metal and mesh fabrics; opt for heavier-duty versions of these materials for maximum durability and protection against birds entering your space.
3. Keep it tight – Make sure that each section of bird netting overlaps with its adjoining sections and is securely fastened in place with ties or clips so that birds cannot gain entry points into your protected space.
4. Check it regularly – After you have installed your bird netting, check it periodically - at least once a season - to ensure nothing has caused any rips or tears that would permit birds and other animals access into your space undesirably; if rips are present, repair them right away!
5. Install appropriate guardrails - A good final step in protecting against pesky birds flying into your area is installing safety guard rails around the edge of any tree branches they may be tempted to perch on above your space; these should also be checked regularly alongside the remainder of the installed bird netting measures put in place!
Curious to learn more? Check out: Install Fish Finder
Featured Images: pexels.com