Acrylic paint is a versatile medium that can be used to create a wide range of effects, from thin watery layers to thick textured strokes.
Acrylic paint dries quickly, usually within 15-30 minutes, allowing artists to work rapidly and make changes to their painting without waiting for hours or even days for the paint to dry.
To get started with acrylic painting, you'll need a few basic supplies, including a surface to paint on, such as canvas or paper, and a variety of acrylic paints.
Acrylic paint is water-soluble, making it easy to clean up and mix colors.
Choosing a Color Scheme
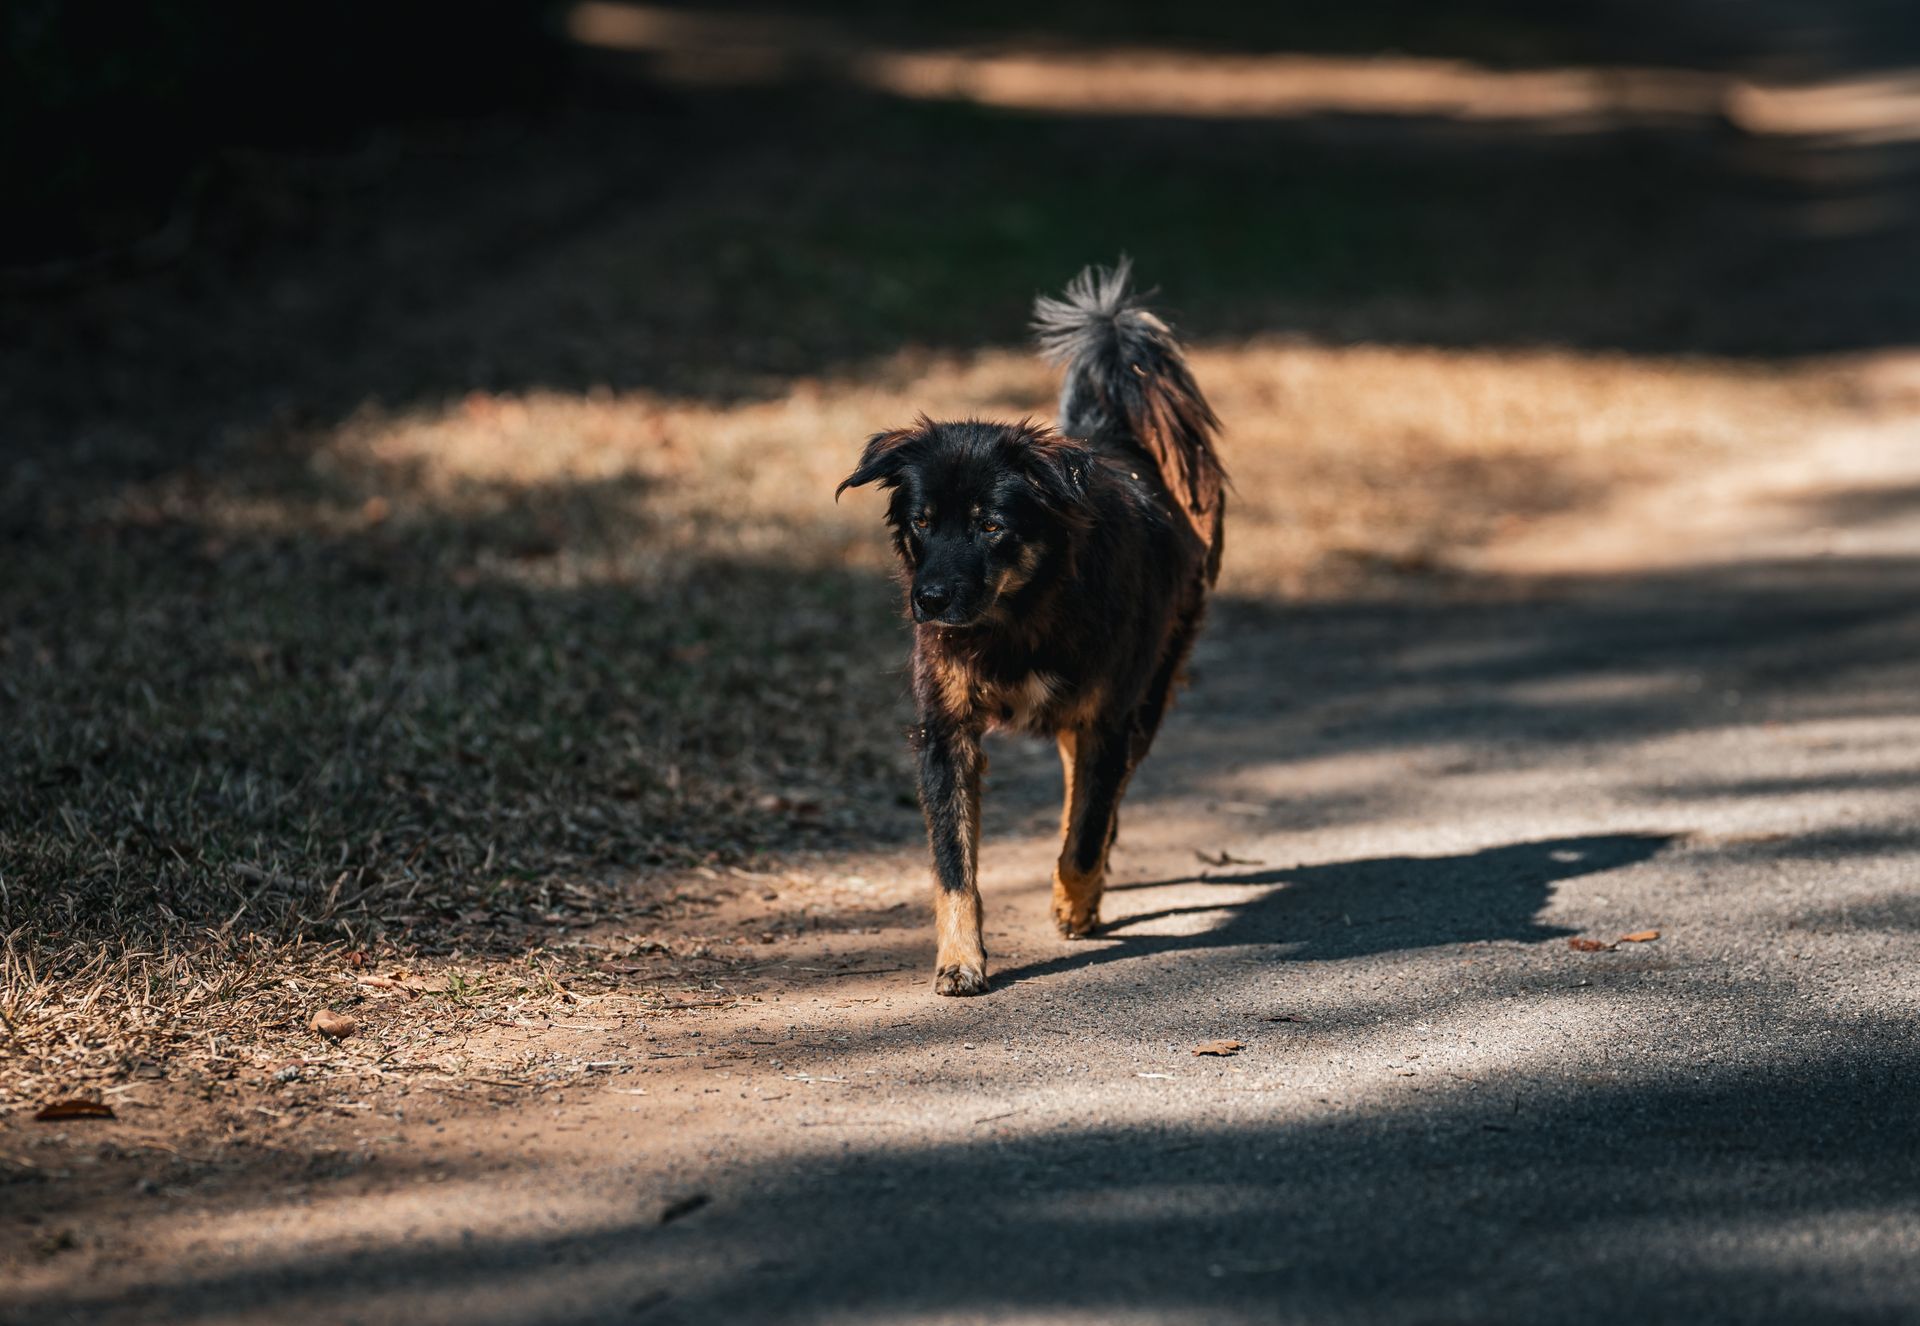
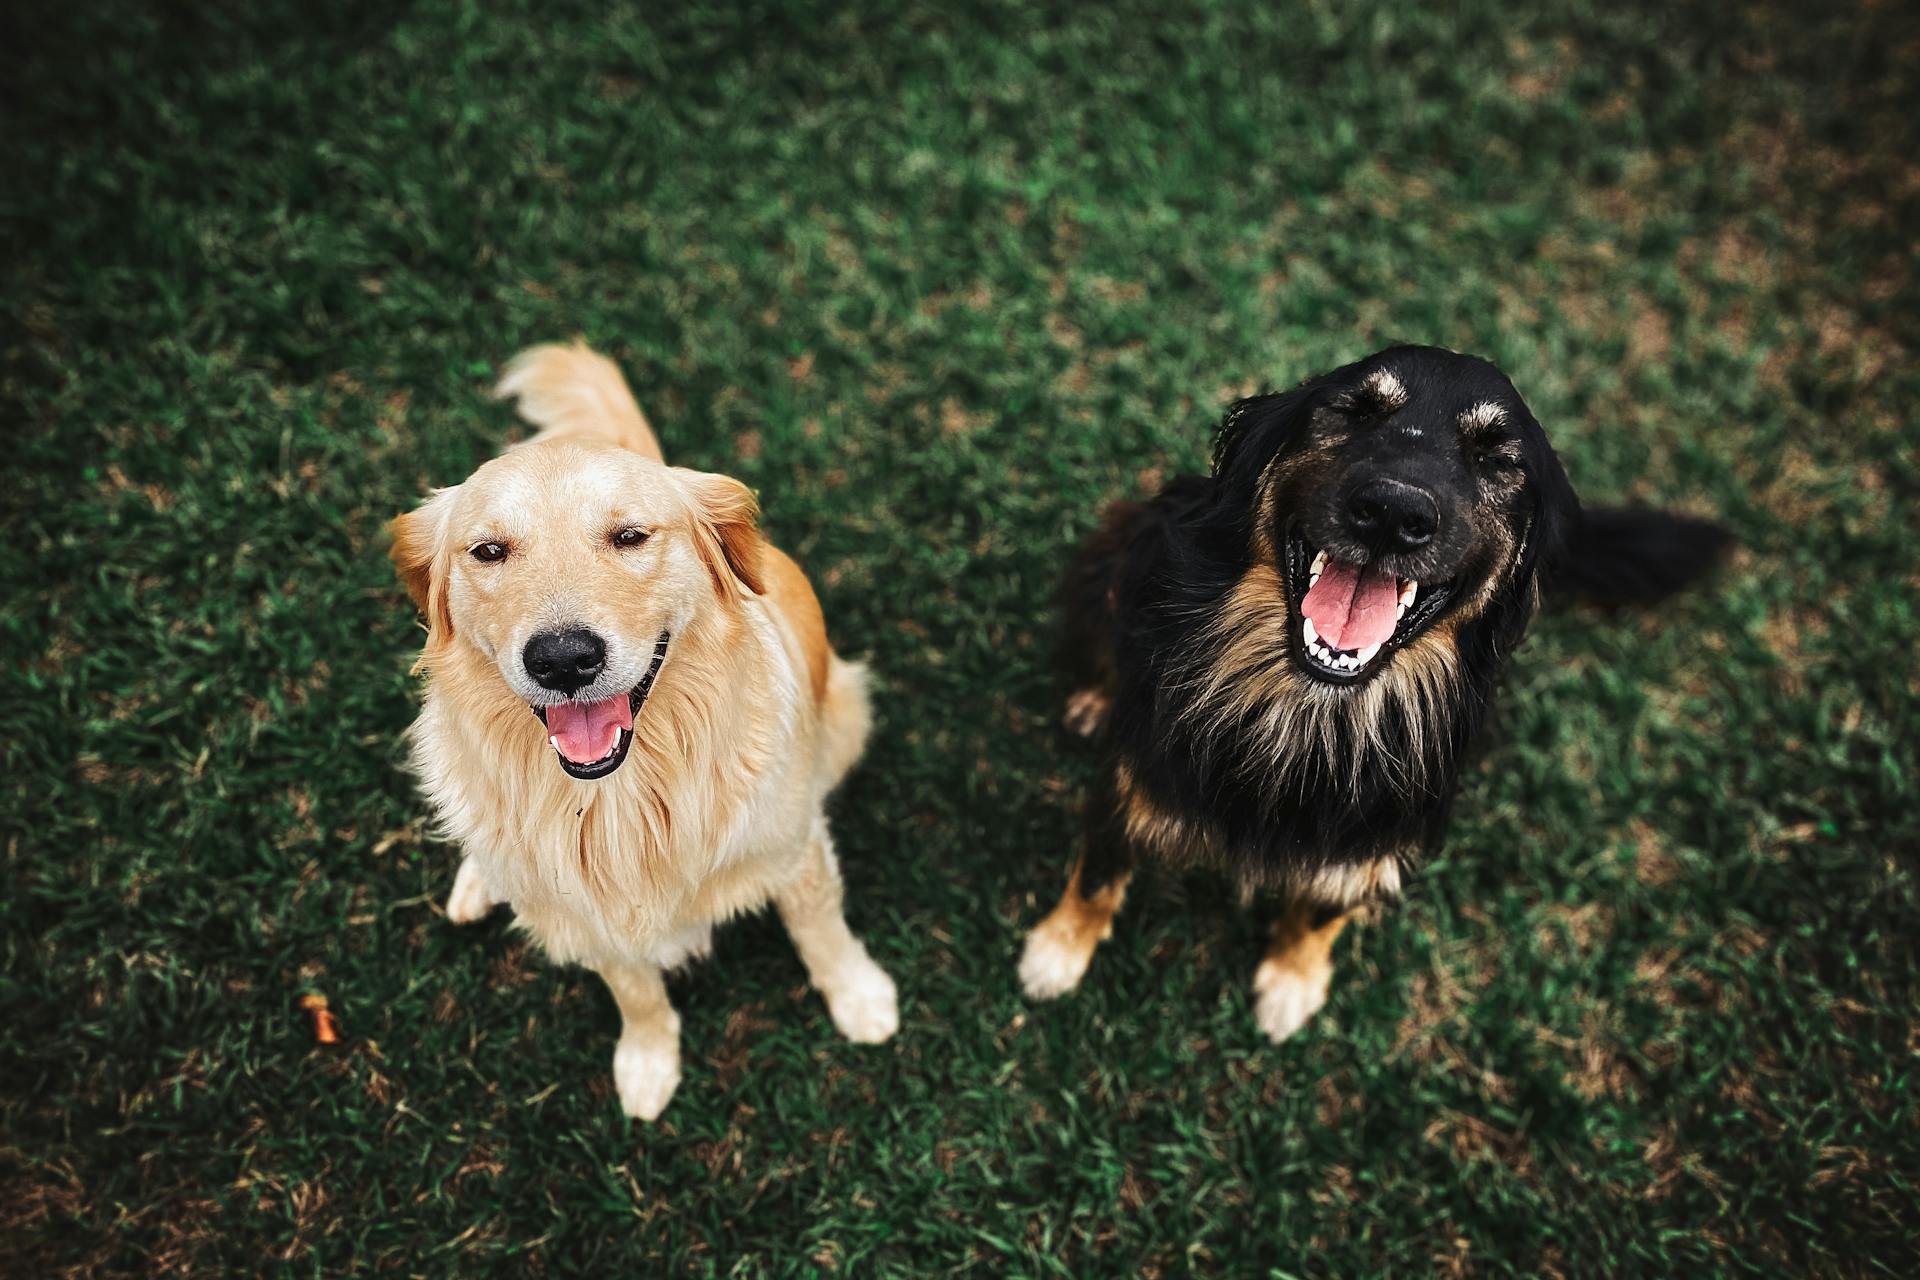
Consider the breed of dog you're painting, as certain colors are more associated with specific breeds. For example, a Golden Retriever is often depicted in warm, golden hues.
A color scheme can greatly impact the overall mood and atmosphere of your acrylic painting. Cool colors like blues and greens can create a calming effect, while warm colors like oranges and yellows can evoke a sense of energy and playfulness.
If you're painting a dog with a distinctive coat pattern, such as a Dalmatian or a Poodle, you may want to choose a color scheme that complements those patterns.
Yellow/Cream
Yellow/Cream dogs look great with a base color made from a mixture of yellow ochre, titanium white, and buff titanium.
For a yellow Labrador, a good starting point is to use titanium white as the base, then add small amounts of buff titanium and yellow ochre until you get the right shade.
Adding too much yellow ochre can result in an overly saturated and artificial look, so it's best to start with a small amount and adjust as needed.
A small amount of yellow ochre is usually all that's needed to get the desired shade, making it a good starting point for most yellow/Cream dogs.
For more insights, see: Wellness Dog Food for Small Dogs
Background Color Options
Adding a pop of color to your background can really make your artwork stand out. Consider adding titanium white to your selected color to make the background more interesting.
Lighter and brighter colors can create a fun and playful atmosphere, especially when used around the subject of your artwork. This is evident in the example where the color gets lighter and brighter around the dog.
A darker background can create a sense of depth and dimension, which can be especially effective when used on the edges of your artwork.
A unique perspective: What Can You Feed Dogs Other than Dog Food
Composition and Placement
When working with acrylic paints, it's essential to consider the composition and placement of your dog subjects.
Acrylics can be built up in layers, allowing for intricate details and textures in your dog paintings.
To create a visually appealing composition, balance is key.
A well-balanced composition can be achieved by placing the main subject, in this case, the dog, off-center.
In the example of "Puppy Playtime", the dog is positioned slightly to the left of center, drawing the viewer's eye to that area of the canvas.
The use of negative space can also enhance the composition of your dog painting.
In "Dog Park", the artist effectively uses negative space to create a sense of movement and energy.
By carefully considering the composition and placement of your dog subjects, you can create visually appealing and engaging acrylic paintings.
Painting Techniques and Tips
To paint a realistic dog's nose, follow four steps: draw or paint the basic outline, fill the nose with a mid grey, glaze the shadows, and add the texture and highlights.
For most dogs' noses, block in the basic shape with a mid-grey colour, with the outline and the nostrils in darker grey, almost black.
Make sure your reference is of a good enough quality to see the dog's form and key features.
To capture the texture of the dog's nose and give it a wet look, use a very small detail brush to add tiny specks of light grey and white in an almost pointillism style.
Select your brushes according to the fur length and texture, and mix your colours carefully until you reach a good match by adding black and white paint to adjust the tones.
Pay close attention to the dog's features, especially the eyes and nose, as these areas bring life to your painting.
If you want to add whiskers, use a 3/0 round brush and thinned down black paint to paint very thin lines where you see the whiskers on your reference photo.
To avoid overdoing it, be careful not to do too many touchups, and consider adding a second coat of paint in the background to touch up the negative space around the pet.
Recommended read: Breeds of Dogs in a Dog's Purpose
Materials and Preparation
To get started with creating an acrylic painting of your dog, you'll need a few basic materials. You can use a 9 x 12 Canvas, which is a great size for a portrait painting.
To ensure your painting turns out well, it's essential to have a good photograph of your dog. This will serve as a reference point for your artwork, so choose a photo that captures your dog's personality and features.
For painting, you'll need a range of colors, including Titanium White, Mars Black, Raw Umber, Turquoise Blue, and Medium magenta. These colors will allow you to create a realistic and detailed portrait of your dog.
Here are the materials you'll need to get started:
- Canvas (9 x 12)
- Photograph of your dog
- Printer Paper & Printer
- Graphite Paper
- Pencil
- Acrylic Paint
- Brushes
- Optional paint pens for details
- Titanium White
- Mars Black
- Raw Umber
- Turquoise Blue
- Medium magenta
Background
In acrylic painting, the background is an essential part of the overall composition.
You'll want to select a color for your background, and in this example, Hansa Yellow was chosen.
To create a two-toned look, you'll also need titanium white.
A 3/4" flat wash brush is perfect for painting the background around the dog, using the tip to "cut in" around the shape.
If needed, use a smaller brush to get into smaller areas, and if you need to paint over some of the pet shape, you can.
Materials Needed
To get started with painting your pet's portrait, you'll need to gather some essential materials. A 9 x 12 canvas is a good size to begin with, as it provides enough space to capture the details of your pet's features.
You'll also need a photograph of your pet, which should be printed out on printer paper using a printer. This will serve as a reference point for your painting. Graphite paper and a pencil are also necessary for sketching out your pet's likeness before you start painting.
You'll need a variety of acrylic paints, including titanium white, mars black, raw umber, turquoise blue, and medium magenta. Titanium white is a versatile color that can be used for highlights and details, while mars black is great for adding depth and dimension to your painting.
Here's a list of the paints you'll need:
You'll also need brushes to apply the paint, and optional paint pens for adding fine details.
Creating a Pet Portrait
To create a pet portrait, you'll want to start with a good picture of your pet. This means tracing the pet's outline, including the ears, eyes, nose, mouth, and any other important features such as a collar.
Photos can be found on royalty-free image databases like Pixabay.com, which is where I found the photos used in this tutorial.
For painting, it's best to keep the background simple, as the focus should be on the pet. You can get creative with fun designs like polka dots or small dog bones, but avoid a busy background that takes attention away from your furry friend.
Rest of fur areas (neck, front chest)
Painting the rest of the fur areas, including the neck and front chest, can be a bit tricky. Use a 3/4″ flat wash brush for larger areas to be filled in.
To achieve a natural look, paint in both full width and side strokes. Expressive strokes are key when filling a large area.
For the neck and front chest, you can use a combination of raw umber, white, and black to create a smooth transition. Blend the colors together to create a seamless look.
If you're painting a black cat, as Kat mentioned, you may struggle with getting the eyes and face right due to the lack of contrast. In that case, you might want to try using a small brush to add details last, after the larger areas are filled in.
Pet Portraits Guide
To create a pet portrait, you'll want to start with a good picture of your pet. This should be a clear and detailed photo that shows all the important features of your pet's face and body.
Keep the background of your picture simple, as you don't want it to distract from the main subject - your pet! A busy background can make it harder to focus on your pet's features.
To get a good outline of your pet, try tracing the outline of their face and body. This will help you see the shape and proportions of your pet more clearly. You can also trace the ears, eyes, nose, mouth, and any other important features.
You can find royalty-free images of dogs to use in your painting lesson on Pixabay.com. This can be a great resource if you're having trouble finding a good picture of your pet.
Start painting the top outline of your pet's mouth with a dark color. This will help create a clear definition between the mouth and the rest of the face.
Selecting and Preparing a Reference
To get started with painting a dog portrait, you'll need a good reference picture. To select a good picture of your pet, try tracing the pet outline, including the ears, eyes, nose, mouth, and any other important features like a collar.
You can find royalty-free images of dogs on Pixabay.com, a great resource for artists. I recommend using these images to get a sense of your dog's features and personality.
Start by tracing the top outline of the mouth with a dark color, and you'll have a good foundation for your painting.
How to See Dogs
To truly see dogs, you need to pay attention to the shape of their eyes, which can vary depending on the angle of the subject. I've found that a round shape with a gentle slope towards the duct is a good starting point for a straight-on portrait.
The shape of the eye is crucial because it sets the tone for the rest of the painting. If the eyes aren't accurate, the whole painting will look off.
Using round brushes of various sizes can help you achieve a realistic look. For a medium-sized painting, I find that a medium-sized round brush is great for mapping out the basic shape of the eye.
The key to painting realistic-looking eyes is striking a balance between blending and sharpness. This means creating an almost liquid effect in areas like the iris and pupil.
Adding blue to some areas of the pupils can help create a three-dimensional effect. I've noticed that blue reflections can add depth and interest to the eye.
Selecting a Good Pet Picture
To select a good pet picture, start by tracing the pet's outline, ears, eyes, nose, mouth, and any other important features, like a collar.
You can find royalty-free images of your pet on websites like Pixabay.com to use as reference.
A simple background is best, as you want the focus to be on the pet, not the background.
Featured Images: pexels.com